Windows Subsystem for Linux (WSL)
Windows Subsytem for Linux or WSL, in short is a blessing of Windows operating system. It gives you the previlage to run Linux applications (mostly CLI) in Windows operating system. Therefore, you do not need to install Linux in dual boot or use a Virtual Machine anymore. However, there are some limitations as well. Also, it consumes more resource as well.
I would recommend you to ensure at least 16GB of RAM in your computer. The higher amount of RAM you have, the higher amount of CPU cores and threads you have, the better graphics card you have, the performance will increase that much!
Table of Content
Install WSL
Open the Windows Terminal as an Administrator. Now type the following and press the enter key to install WSL in your system.
wsl --install
When it asks for the administrator permission, make sure you give that instantly. It will also install the latest and stable LTS version of Ubuntu as well. Do not close the processes. It might take a few minutes depending on the internet speed of your computer.
At last it will show you a message saying that it has finished installing the components successfully, and it needs you to restart your computer.
Now, you need to save all your work, and then restart/reboot your computer. You might see that your Windows operating system is installing some updates during boot. Do not interrupt that as the updates are necessary for WSL.
After you log into your computer again, wait a little more. A terminal window will pop up automatically, and it will load the user session. After a while, it would ask for your username and password. Provide a new username and password (this is not the username or password your computer currently has). You can give any username and password you want, but make sure that you do not forget them afterwards!
Make WSL2 the Default One
By default, WSL automatically installs the second version (WSL2) when you follow the steps I showed. However, in some cases, you might also need to make the WSL2 the default version of WSL.
Therefore, simply open a terminal as administrator, and use the following command.
wsl --set-default-version 2
It will also tell you, "The operation completed successfully".
Update and Upgrade Packages
You need to update the Ubuntu system in WSL, and upgrade the required ones. If you are already in a Ubuntu terminal, then you can directly apply the following commands.
If you have closed the Ubuntu terminal, then you can open the Ubuntu terminal anytime you want in one of the following two ways:
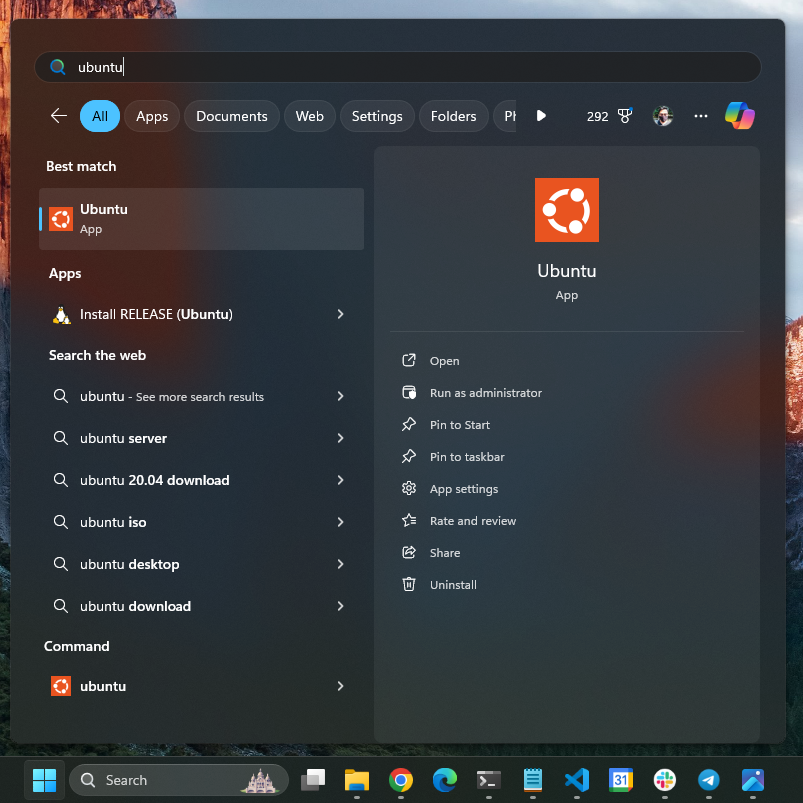
- Search "Ubuntu" in the search bar from the Windows taskbar. Then open the termina.
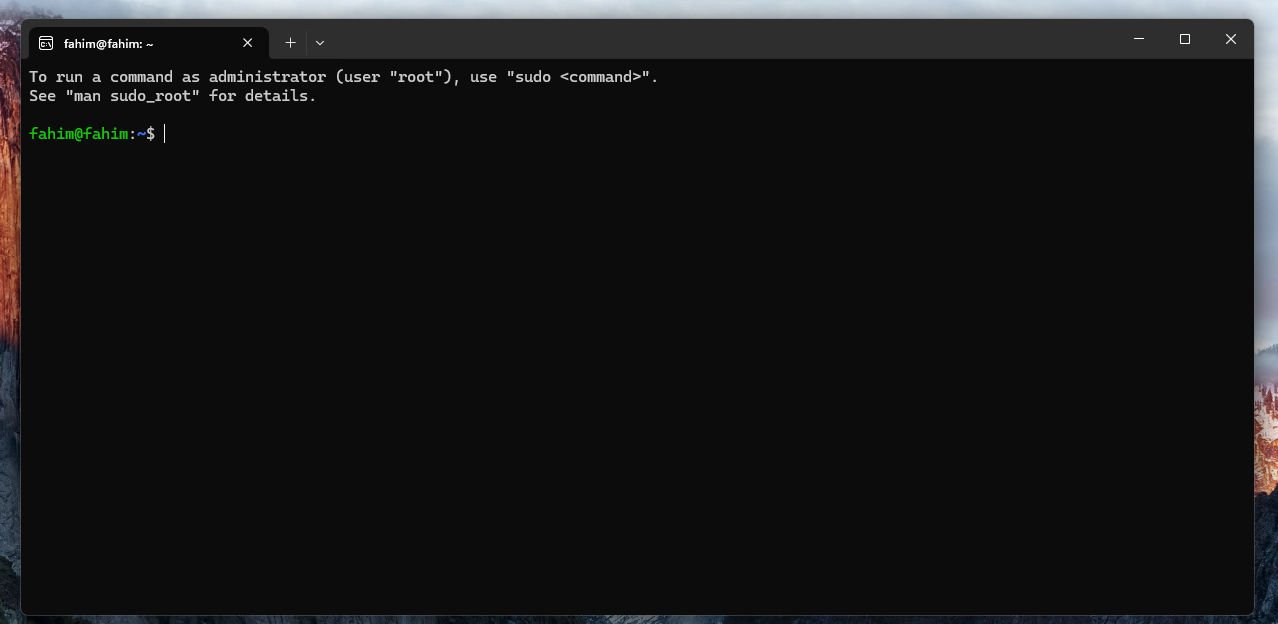
- Open the Windows Terminal. Click on the drop down menu. Click on Ubuntu.
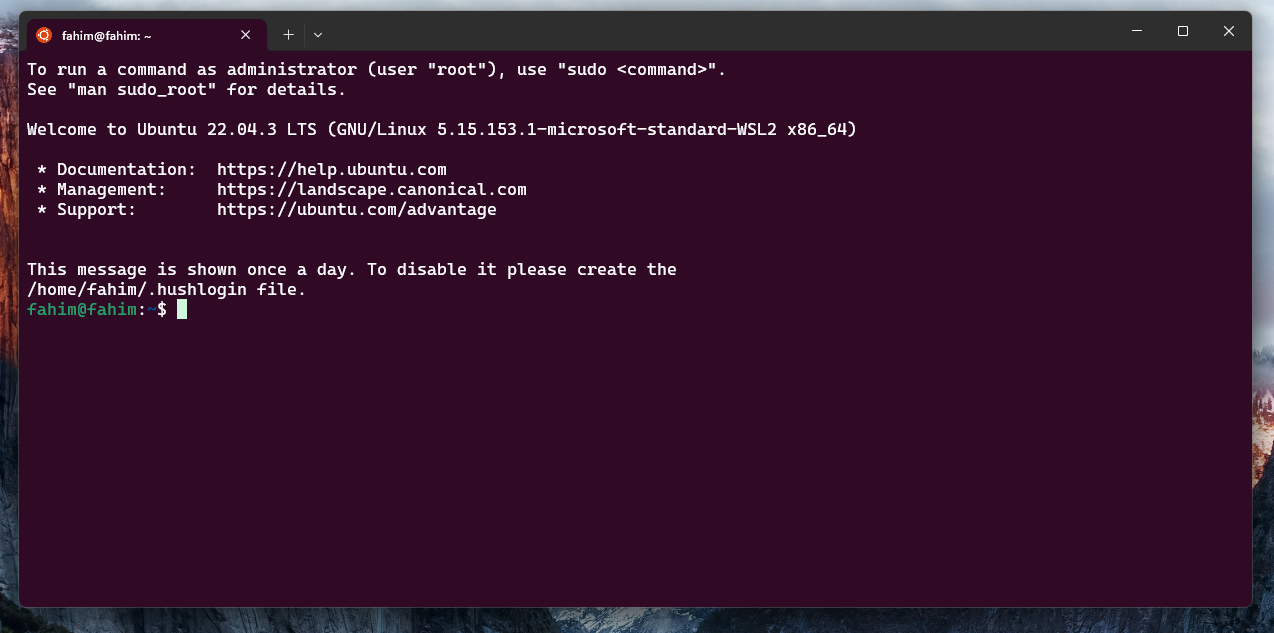
Now apply the following command for updating the system.
sudo apt update
Give your password when it wants, and then simply press the "Enter" key.
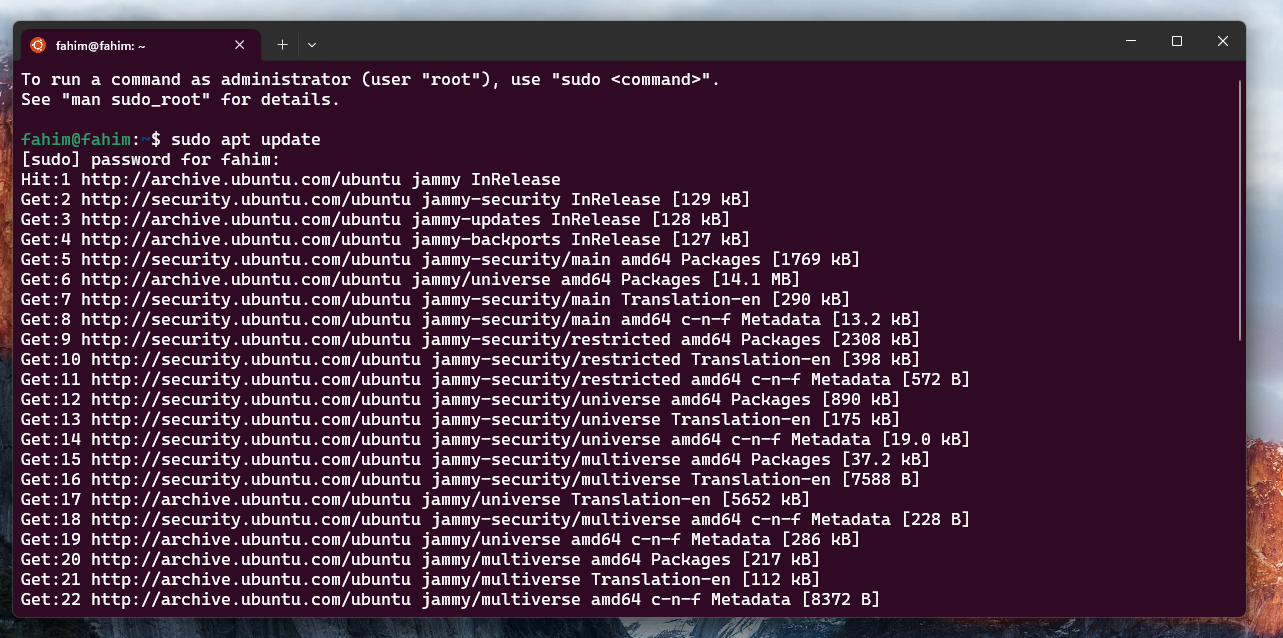
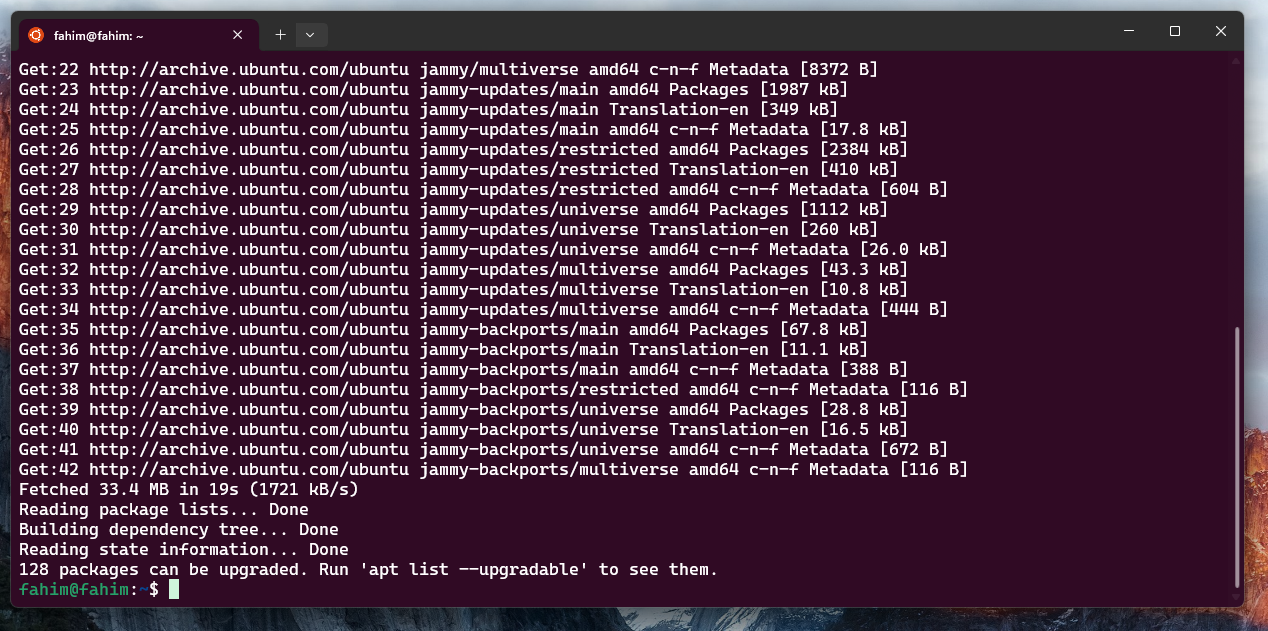
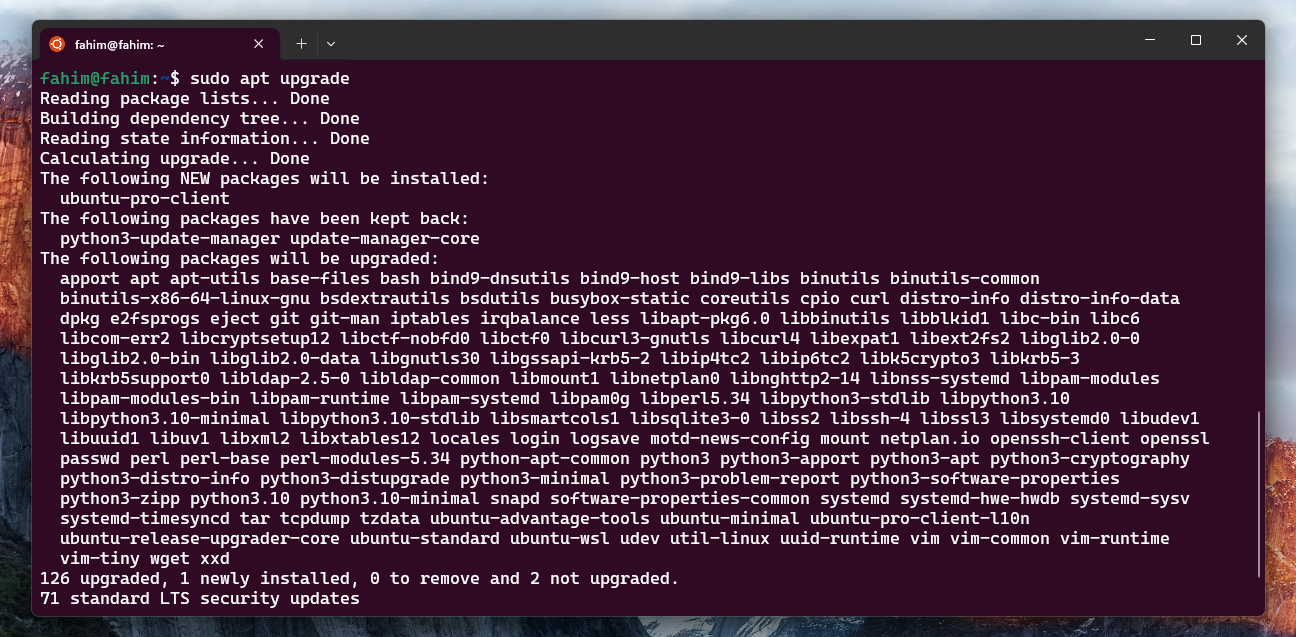
After it finishes updating, upgrade the recommended packages by using the following command.
sudo apt upgrade
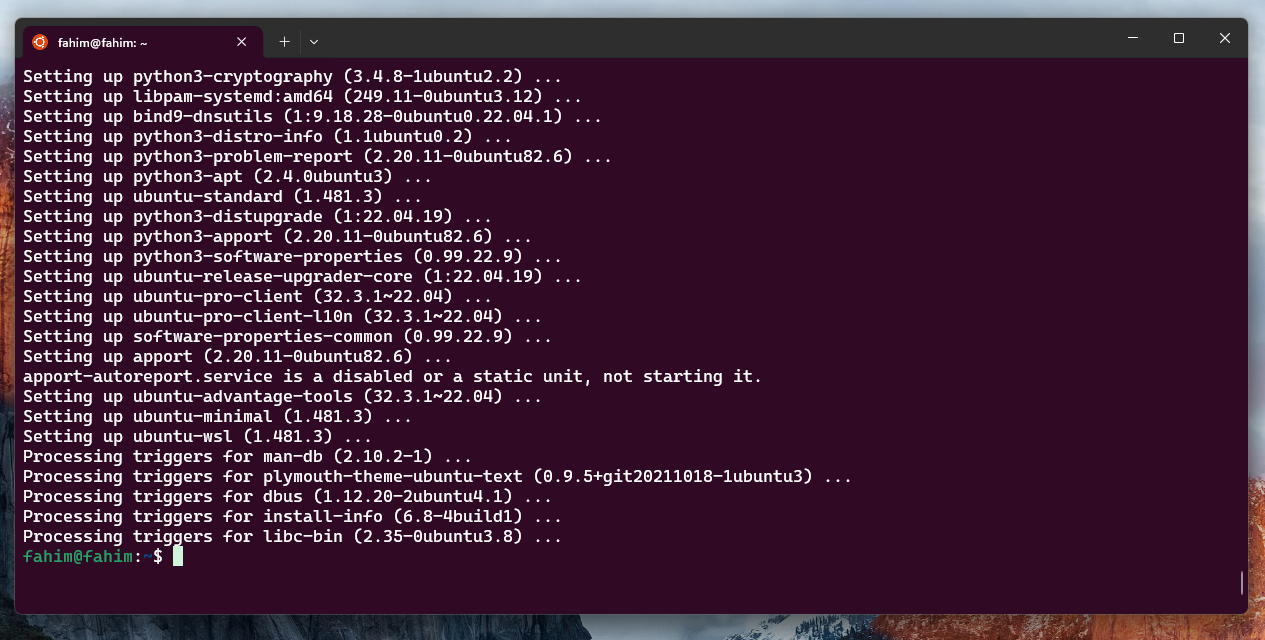
If you have completed till now, then your machine's WSL portion is ready to go! 👏