Prerequisite
Before going through the process to install all the necessary components to start doing machine learning or deep learning stuff on your Windows operating system, we need to ensure that some prerequisites are met properly.
Here, we will go through all the necessary steps that must be ensured and therefore are considered as pre-requisite.
Table of Content
- Enable Virtualization (in BIOS)
- Windows Version
- Windows Activation
- Install the Latest Stable Nvidia Graphics Driver
- Windows Update
- Reboot Your Computer
- Install the Latest Windows PowerShell
- Update Windows Terminal from Microsoft Store
- Make Windows Terminal the Default One and the New PowerShell the Default PowerShell
Enable Virtualization (in BIOS)
Make sure that you have enabled the Virtualization in your BIOS. If you are using a Gigabyte motherboard, then you will get that as SVM settings.
Windows Version
Make sure that you have the latest version of Windows operating system installed (Windows 11). Also, make sure that you are using the Pro version of Windows 11. I am not sure whether the same process would work on the other versions (Home, etc.).
But if you are someone who is trying to follow this project in your Windows11 operating system having different Windows11 version (Home, etc.), then please let me know whether it is working on your case in a GitHub Issue.
Windows Activation
We need to ensure that our Windows operating system is properly activated. It is necessary as according to Microsoft, certain features or settings might be unavailable to you until you activate your Windows operating system. I do not support piracy in any way, and therefore, I can not talk about any pirated stuff at all. I hope you would understand that.
Check Windows Activation Status
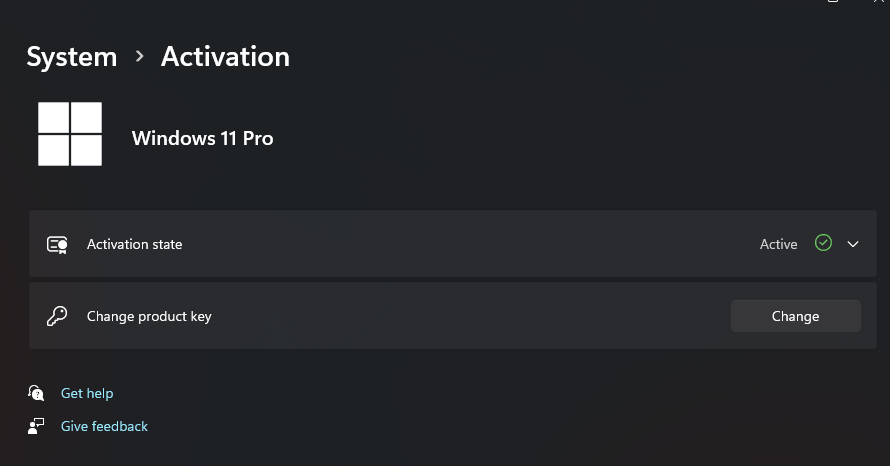
Simply open the Windows settings. Then go to System. Find Activation in the System tab. Finally, open the Activation tab. If your Windows operating system is already activated, then you will see that the Activation state is marked as "Active" like below example.
Install the Latest Stable Nvidia Graphics Driver
This step should be done before conducting Windows update as Windows itself tries to fill up the gap for the driver. Most often, it downloads old drivers which conflict with the installed driver afterward. Therefore, it is highly important to install the official Nvidia driver before conducting complete Windows update.
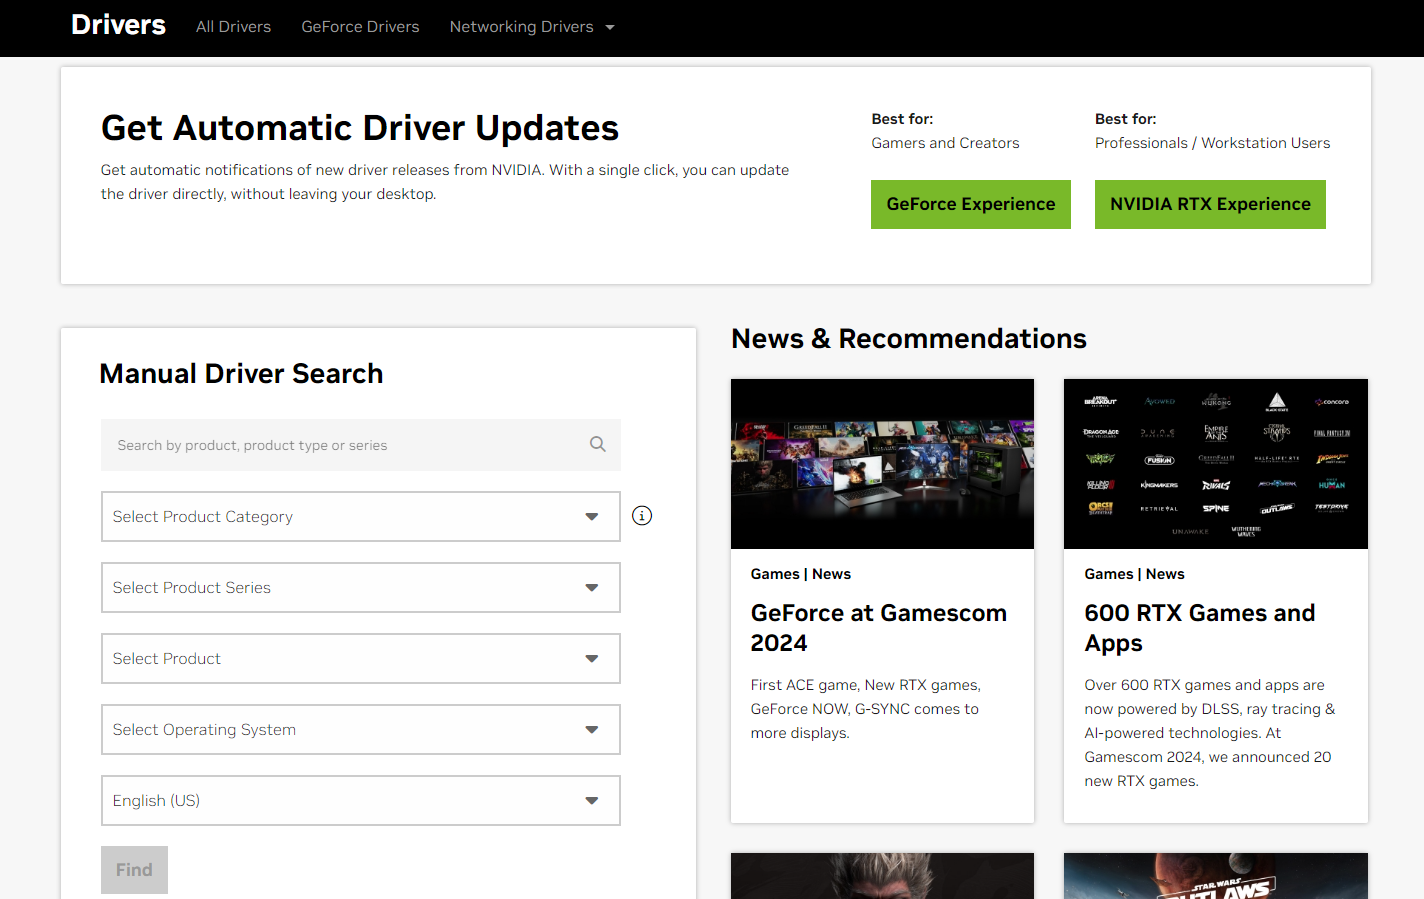
Head over to official Nvidia driver download page.
Game Ready Driver Vs. Studio Driver
If you prioritize gaming over any productive work, then you can download the Game Ready Driver. It typically has latest patches for the newer games. Unfortunately, as this driver ships with latest update instantly, multiple bugs or glitches are also expected.
If you prioritize productive work more, then the Studio Driver is the most suitable one for you. Do not get me wrong, you can obviously do gaming in this driver also. As this driver gets released after a lot of testing, typically it is very stable. However, you might not get rock solid gaming performance on the newer games that just come as the newer one gets released a little later here than the Game Ready Driver as there is a lot of testing going on before releasing a Studio Driver.
As I prioritize my productivity more, I always go for the Studio driver.
However, if you use the Nvidia GeForce Experience software, then you can easily switch between the Game Ready Driver and the Studio Driver whenever you want, as many times as you want. But from my personal experience, I do not find that as a good option.
Windows Update
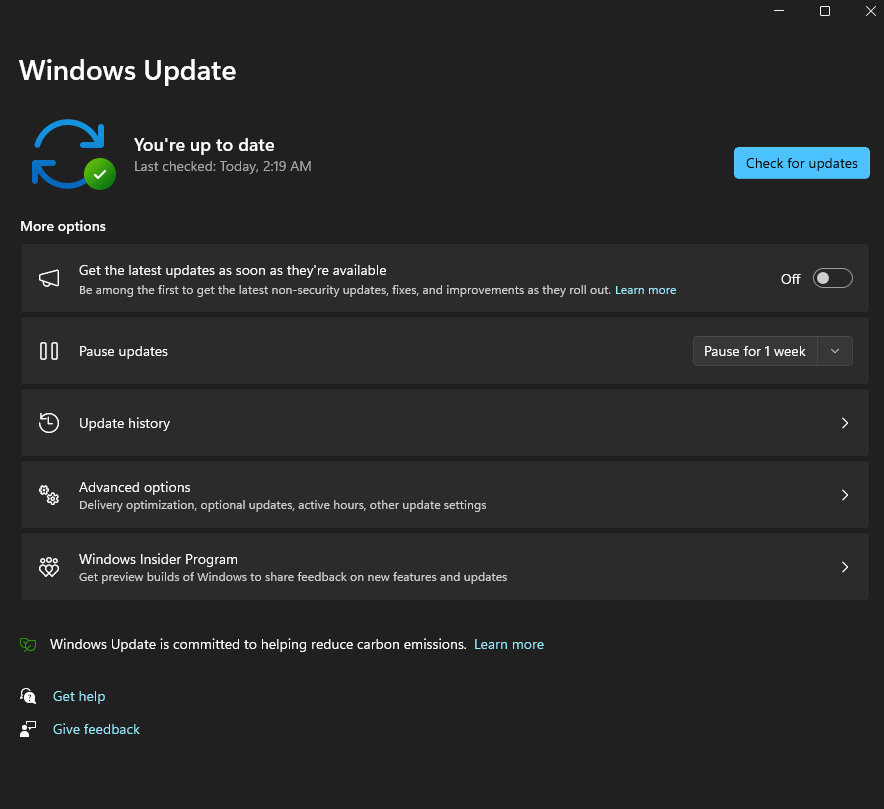
Make sure that you have installed all the updates properly. Click on "Check for updates" from the Windows Update tab in the Settings. Make sure that all necessary updates are installed successfully.
Make sure that it says "You're up to date" like the image below.
Reboot Your Computer
You must need to reboot your computer after installing all the Windows update. You are using a Windows operating system that simply can not work well without restarting. :)
Still some of us use the Windows operating system for the wide level of software availability, gaming and other reasons, right? ;)
Install the Latest Windows PowerShell
Windows operating system automatically comes with an integrated PowerShell. However, there is another open source PowerShell software from Windows that is much more powerful and customizable. It also comes with autosuggestion feature by default.
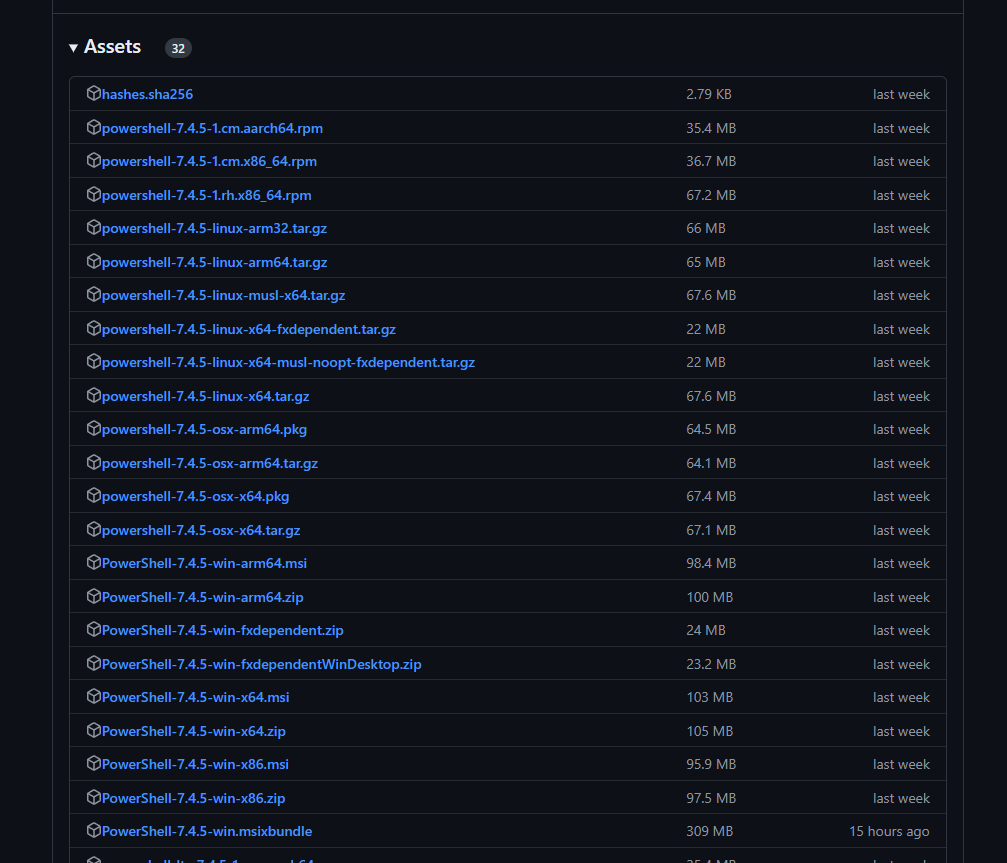
To install it, simply head over to the "Release" section of their GitHub repository.
Find the latest and stable version. Download the .msi package.
Update Windows Terminal from Microsoft Store
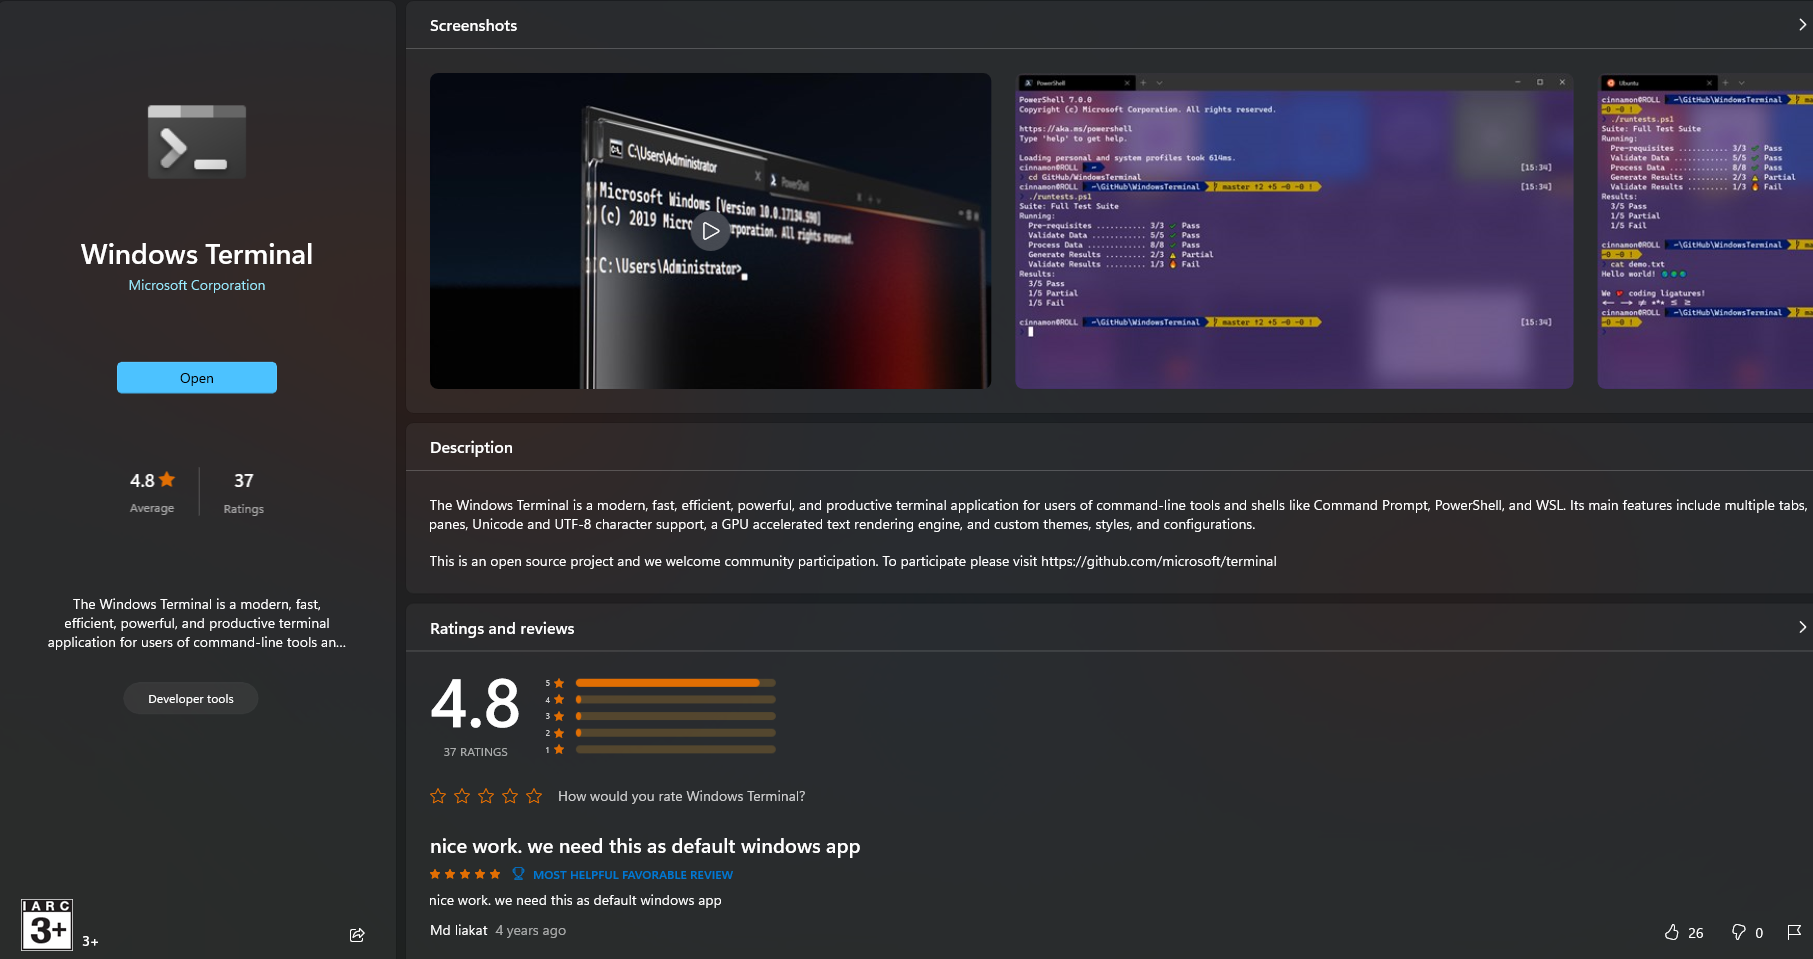
We are going to use the Windows Terminal often. You can add multiple terminals in a single application.
Therefore, make sure that it is already updated to the latest version from Microsoft Store.
Make Windows Terminal the Default One and the New PowerShell the Default PowerShell
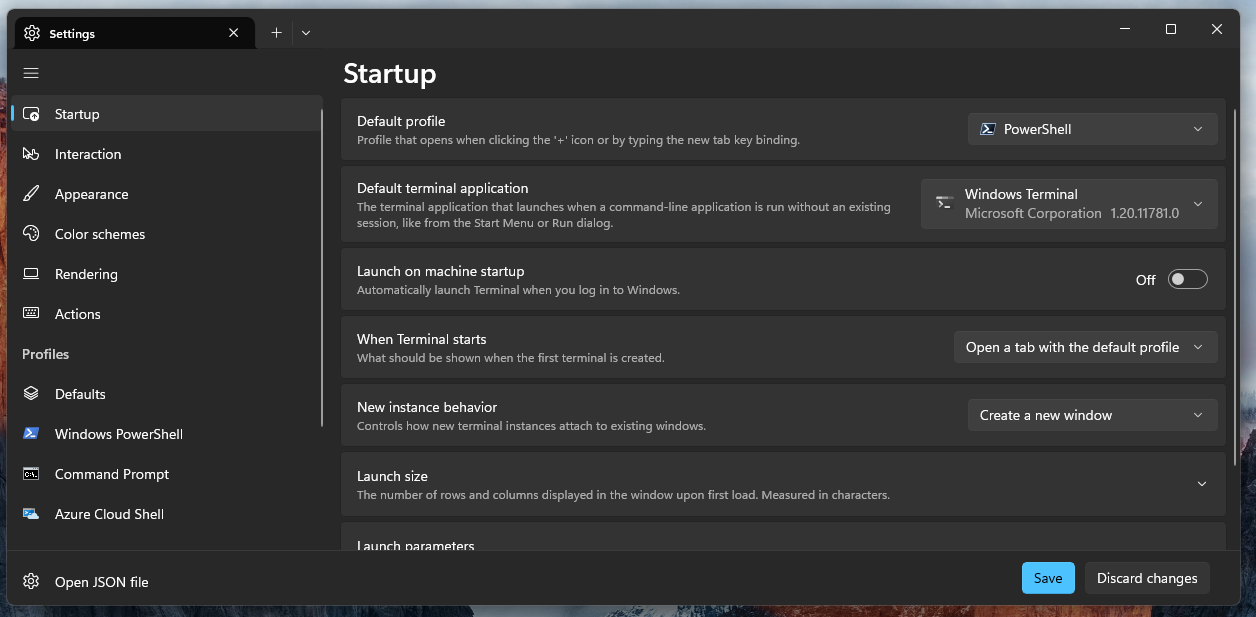
Open the Windows terminal. Click the drop-down button and go to settings.
From there, change the "Default profile" to PowerShell. Also, change the "Default terminal application" to Windows Terminal.
Then click "Save" and exit the Windows Terminal.
If you have completed all the tasks in this page, then your prerequisites are completed! 🎊